
How do you maintain the bearings of your bottom bracket?
A bottom bracket is one of the most heavily loaded rotating points on your bike. Every pedal stroke drives dirt, moisture, force, and micro-movements through bearings, cups, and seals. Wear and tear is therefore inevitable, but proper maintenance can greatly extend its lifespan. In this guide, we explain why maintenance is important, how often you should service your bike, and how to do it yourself: light service versus intensive service.
Why maintain your bottom bracket?
A bottom bracket contains bearings that are constantly under load. Even under perfect conditions, mechanical wear occurs over time due to:
- Contact between bullets and barrel walls (normal wear and tear).
- Penetrating water (driving in rain, washing under high pressure).
- Dirt and mud (especially with MTB and gravel bikes).
- Oxidation and corrosion (sweat, salt spray, moisture accumulation in the frame). Water ingress brings dirt and cleaning products into the bearing, accelerating oxidation.
By regularly cleaning and inspecting:
- Slow down the wear and tear of bearings and cups. Please note that every bearing wears out. Accumulated wear and tear CANNOT be repaired by adding new lubricant.
- Reduce the likelihood of creaking noises.
- Prevent and slow down corrosion of steel parts.
- Keep your crankset running smoothly = more efficient power transfer.
We assume that you will only install our products and perform service on them if you have sufficient knowledge of bicycle mechanics. If this is not the case, we recommend that you seek the assistance of an experienced bicycle mechanic.
It's not just mileage that counts, it's usage
Maintenance is not just a matter of mileage. Environmental conditions and discipline are at least as important:
- Do you often drive in wet or muddy conditions?
- Do you wash your bike with a high-pressure cleaner (not recommended around bearings)?
- Do you use aggressive cleaning products?
- Is the bike stored outside or in a damp room?
- Are competitions held under extreme conditions?
The more severe the conditions, the shorter the service interval.
Recommended maintenance intervals
| DISCIPLINE | CIRCUMSTANCES | RECOMMENDED INTERVAL FOR BOTTOM BRACKET MAINTENANCE |
| MTB | Mud / wet | Every 3 months |
| Gravel | Mixed terrain, dust, water | Every 3 months |
| Race / Road bike | Mostly dry / paved | Every 6 months |
| Competitive / Pro use | Intense, lots of washing | Inspect after every block/race period |
Tip: Do you hear creaking, feel play, or is the crank stiff? Then inspect it immediately and don't wait for the interval! Please note that a creaking noise on the bike does not necessarily come from the bracket. Also check other possible causes, such as: saddle (pin), headset, thru axles, chainring bolts, pedals...
It is best to check for creaking noises when the bike is stationary, not while riding.
Light service vs. intensive service
There are two ways to maintain your bottom bracket. Which one you choose depends on the time, tools, and condition of the bottom bracket.
Light maintenance (fast & accessible)
Purpose: to remove dirt and moisture + protect against corrosion.
- No complete disassembly required.
- Ideal between two larger maintenance intervals.
- Requires little time and few tools.
Intensive maintenance (thorough & preventive)
Purpose: thorough cleaning of bearings, protection against corrosion, inspection of parts, and replacement if necessary.
- Completely disassemble the bottom bracket.
- Remove bearings from cups.
- Best choice for harsh conditions.
- Requires more time, tools, and knowledge.
Light maintenance – step by step
This method is ideal for maintaining the condition of your bearing without removing it from your bottom bracket.
Requirements:
- Clean cloth / cleaning rags
- Sharp tool for lifting the seal on your bearing (not a screwdriver)
- WD-40 or similar penetrating oil/water repellent
- CEMA bearing grease
- CEMA water-repellent paste
- Protective gloves
Why WD-40? The product is available worldwide, repels moisture, and helps loosen light corrosion. Please note: WD-40 is not a long-term lubricant for bearings, it should only be used for cleaning.
Steps:
- Remove the crankset.
- Remove the seals from your bracket until the bearing is visible.
- Thoroughly clean the seal of your bracket and the area around the bearing, bottom bracket, and crank.
- Remove the outer rubber seal from the bearing. Carefully lift the edge of the seal and remove it. Wipe the seal clean.
- Apply WD-40 to the bearing. The product helps to dispel moisture and loosen surface corrosion. Spray directly into the bearing and move it up and down.
- Leave on for 5-10 minutes.
- Clean and remove the residue from the WD-40 with a contact spray or degreaser.
- Allow to dry. Use air to remove excess product and loosened dirt. Always use compressed air from a distance, not directly. (Note: at this stage, it is normal for the bearing to appear rough due to the lack of lubricant.)
- Reapply CEMA bearing grease.
- Replace the seal. Click or press the rubber seal back into position correctly.
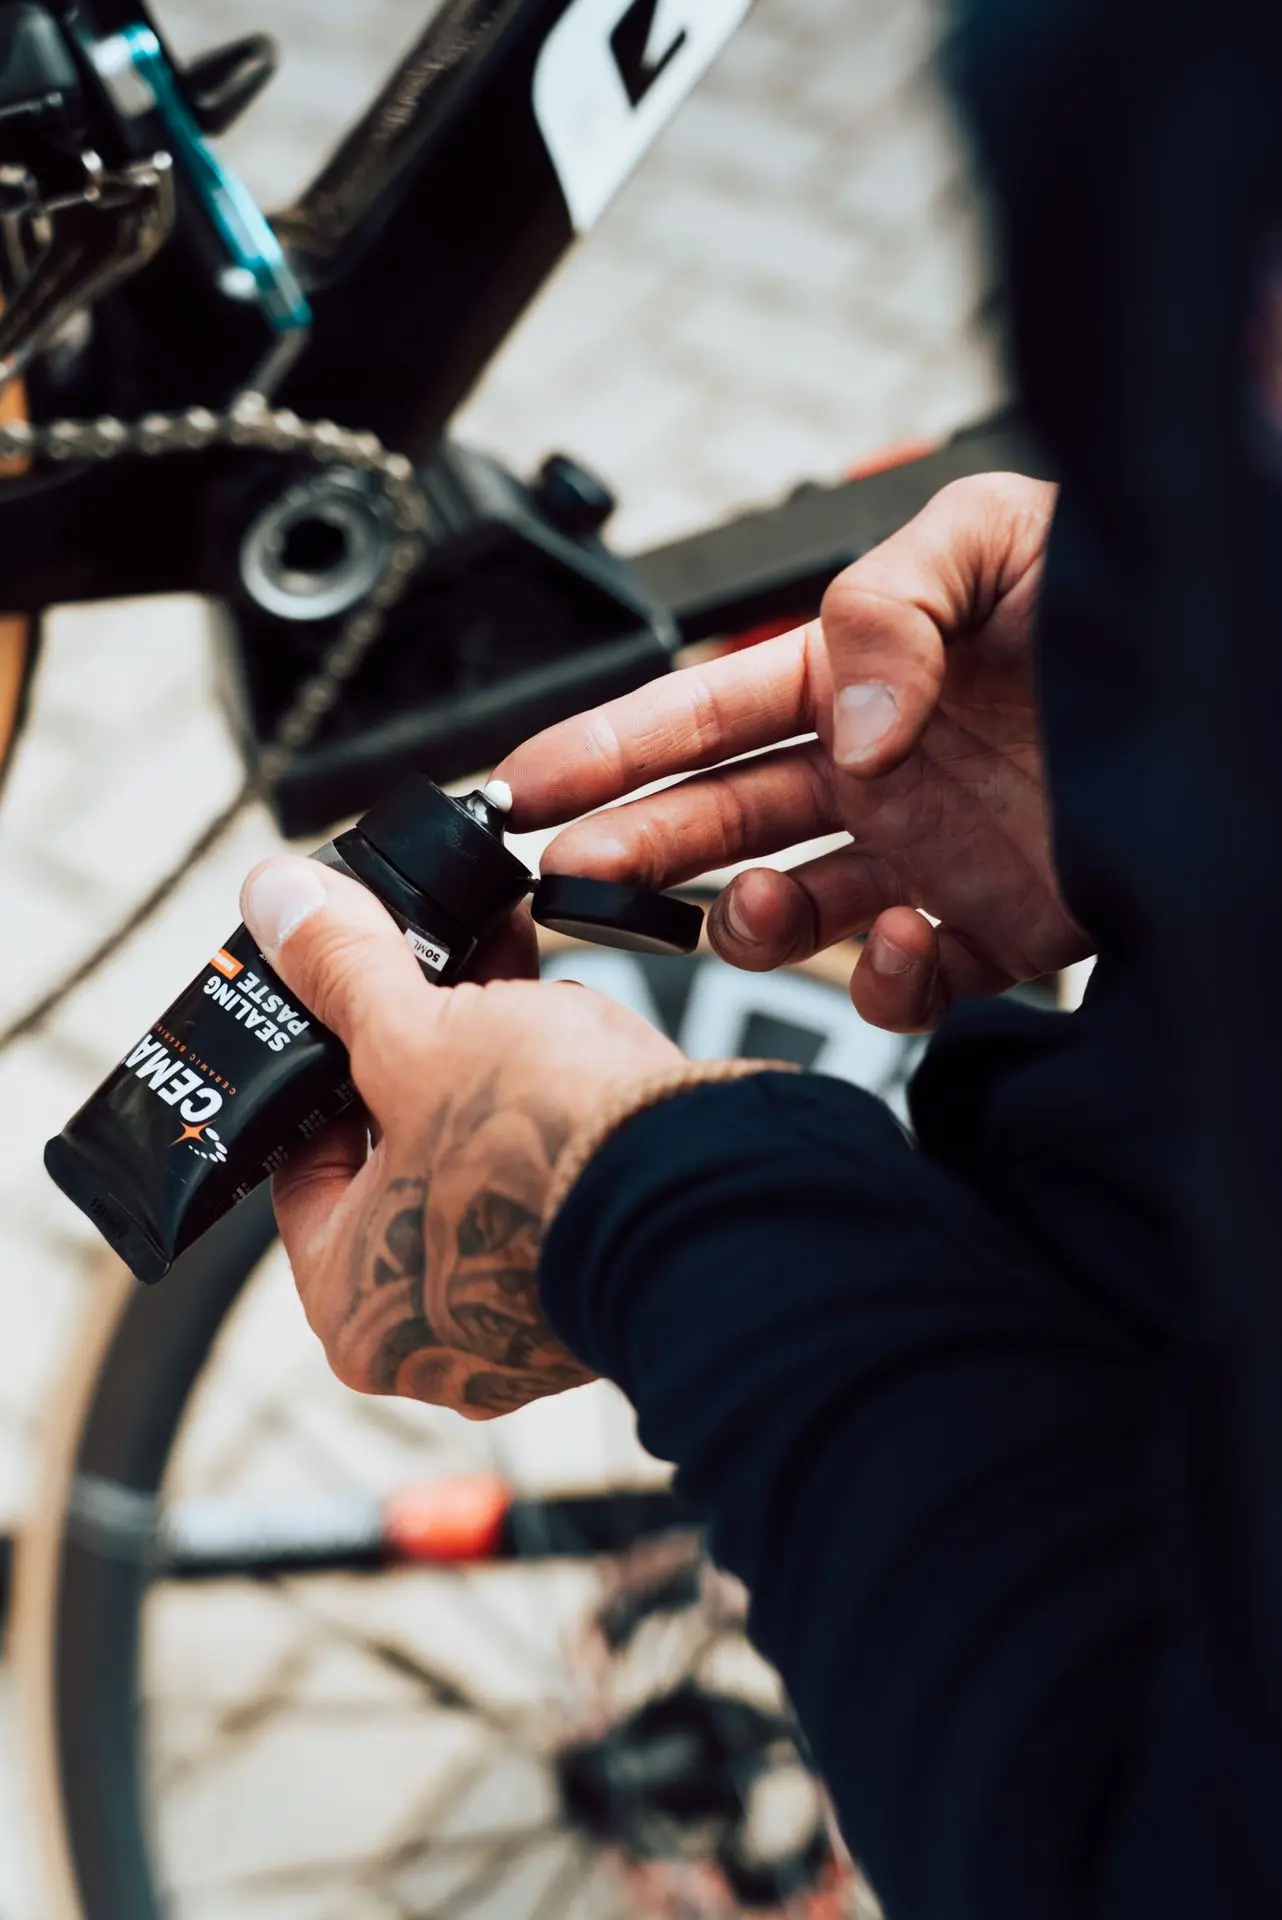
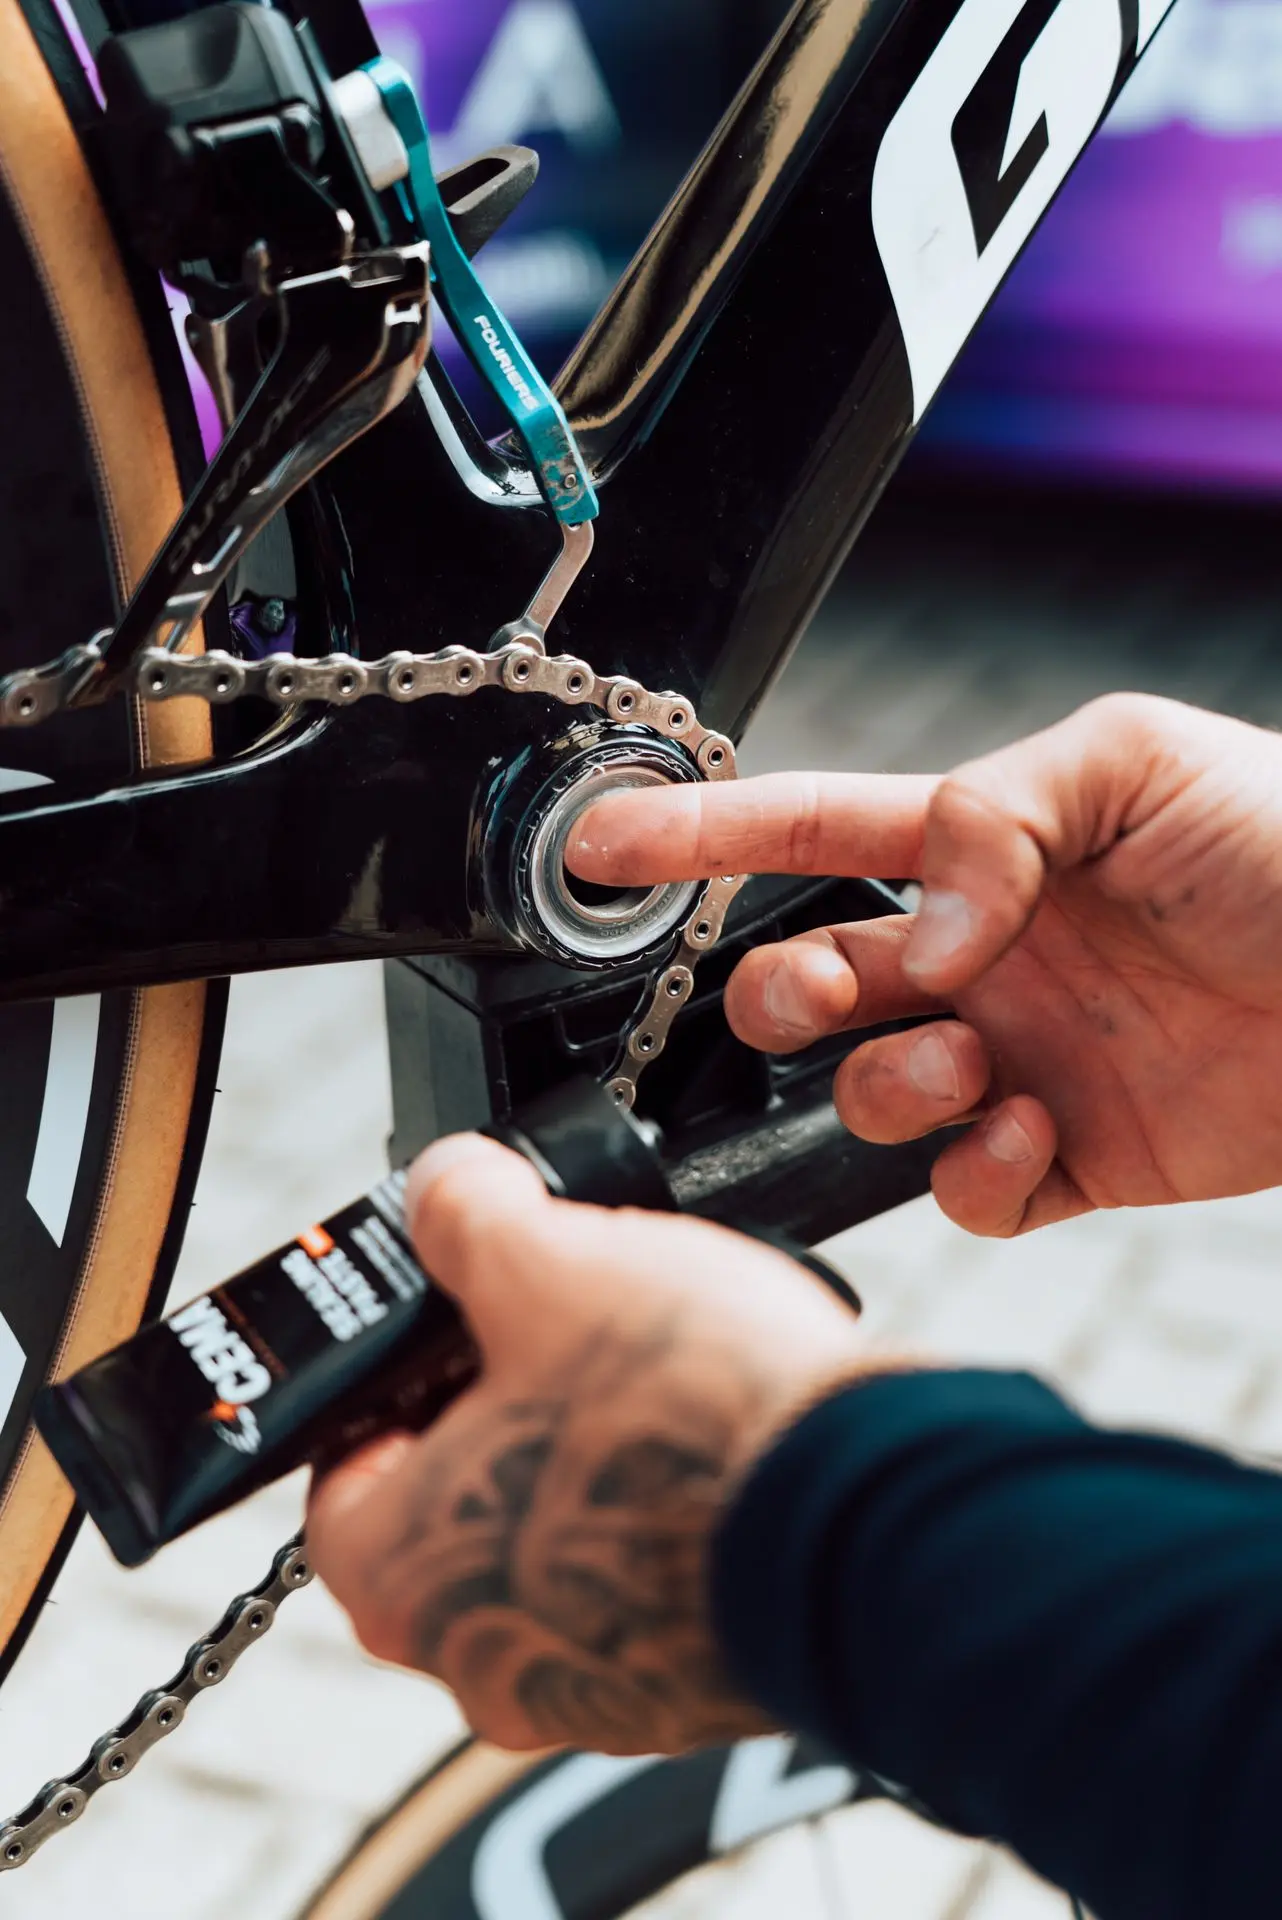
- Apply a thin layer of CEMA water-repellent paste to the outside of the bearing.
- Install the bracket seals and install the crank according to the manufacturer's instructions.
Extra: Would you like to apply a protective layer? Apply a thin ring of CEMA water-repellent protective paste to the outside of the bearing seal to repel moisture and dirt.

Intensive maintenance – step by step
Recommended when:
- The bike was used for a long time in muddy/wet conditions.
- The bearings are running rough or grinding.
Requirements:
- Clean cloth / cleaning rags
- CEMA installation tools for bottom brackets
- Sharp tool for lifting the seal on your bearing (not a screwdriver)
- WD-40 or similar penetrating oil/water repellent
- CEMA bearing grease
- CEMA water-repellent paste
- New bearing set if bearings are worn out
- Protective gloves
Steps:
- Remove the crankset.
- Remove the seals from your bracket until the bearing is visible.
- Thoroughly clean the seal of your bracket and the area around the bearing, bottom bracket, and crank.
- Remove the bearings from the bracket using the CEMA installation tool for bottom brackets.
- Remove both rubber seals from the bearing. Carefully lift the edge of the seal and remove it. Wipe the seals clean.
- Apply WD-40 to the bearing. The product helps to dispel moisture and loosen surface corrosion. Spray directly into the bearing and move it up and down.
- Leave on for 5-10 minutes.
- Clean and remove the residue from the WD-40 with a contact spray or degreaser.
- Allow to dry. Use air to remove excess product and loosened dirt. Always use compressed air from a distance, not directly. (Note: at this stage, it is normal for the bearing to appear rough due to the lack of lubricant.)
- Reapply CEMA bearing grease.
- Replace the seals. Click or press the rubber seals back into position correctly.
- Install the bearings in the bracket using the CEMA installation tool for bottom brackets.
- Apply a thin layer of CEMA water-repellent paste to the outside of the bearing.
- Install the bracket seals and install the crank according to the manufacturer's instructions.

When should bearings be replaced instead of maintained?
Replace your bottom bracket bearings if you notice one or more of these signs:
- Axial play despite correct installation
In many cases, replacing bearings is faster and more cost-effective in the long run than repeatedly flushing heavily damaged bearings.
Tools & products to make life easier for yourself
| PRODUCT | WHY IT'S USEFUL | NOTE |
CEMA Assembly Paste | Corrosion prevention on contact surfaces | Always use when installing bottom brackets |
CEMA Water-repellent protective paste | Extra protection against moisture | To be used on the outside of the bearing, especially useful for wet/muddy riding |
CEMA Installation tools for bottom brackets | Correct removal and installation of bottom bracket bearings | Prevents damage to bearings and cups |
WD-40 or moisture repellent | Service & rust removal | Do not use as a final lubricant. |
CEMA ceramic bearing grease | Repackaging serviceable bearings | For optimal performance of every bearing |
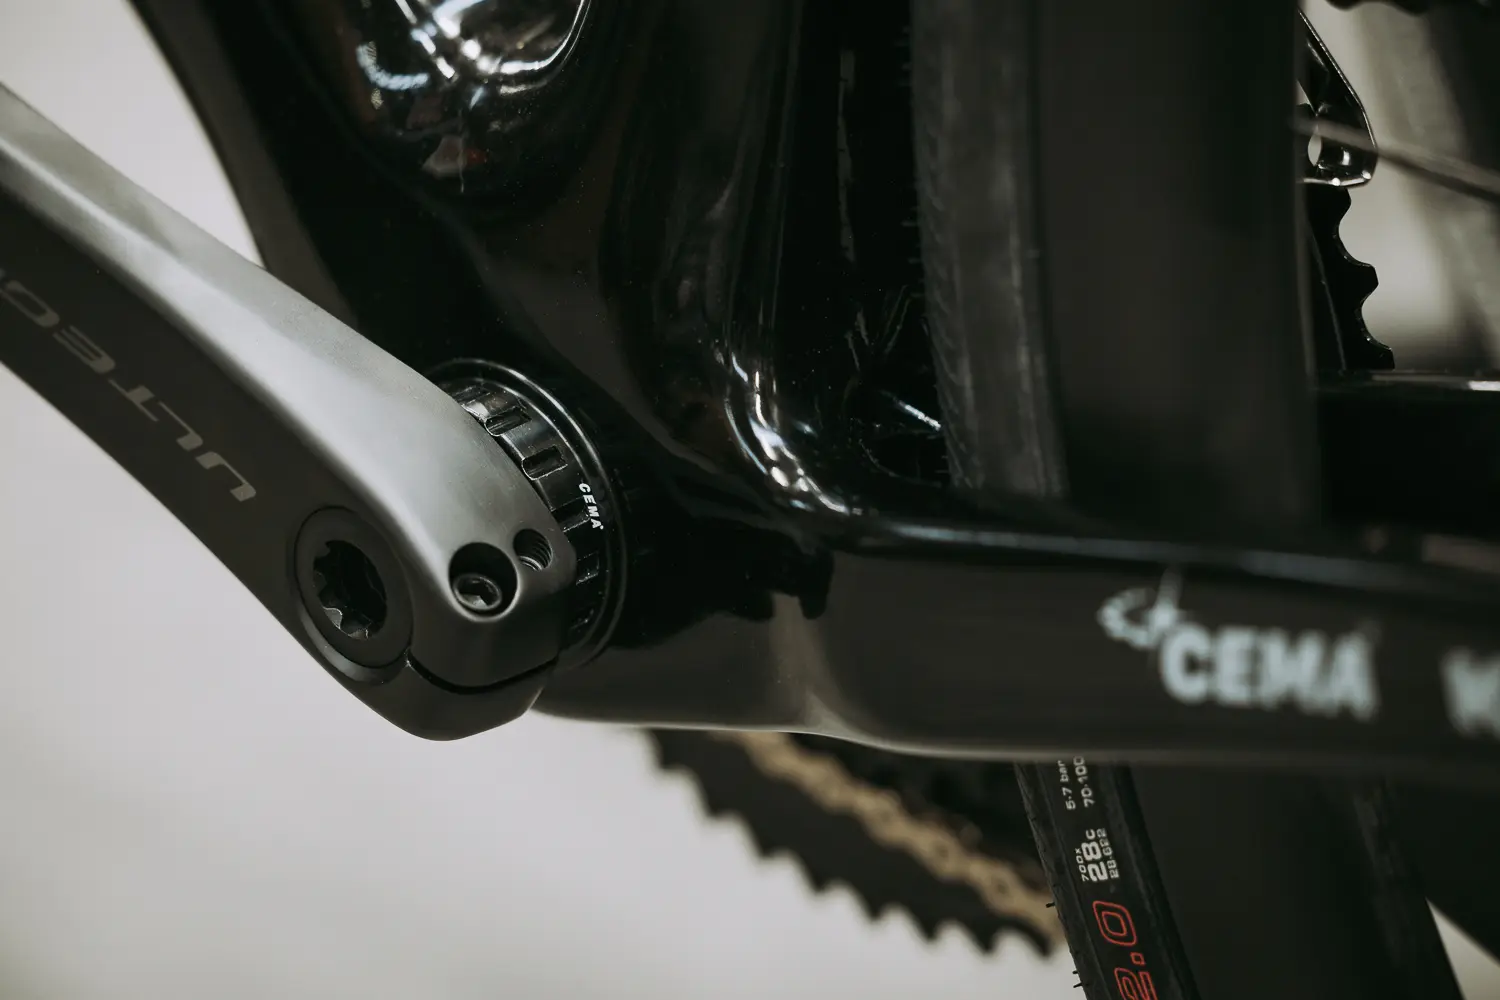
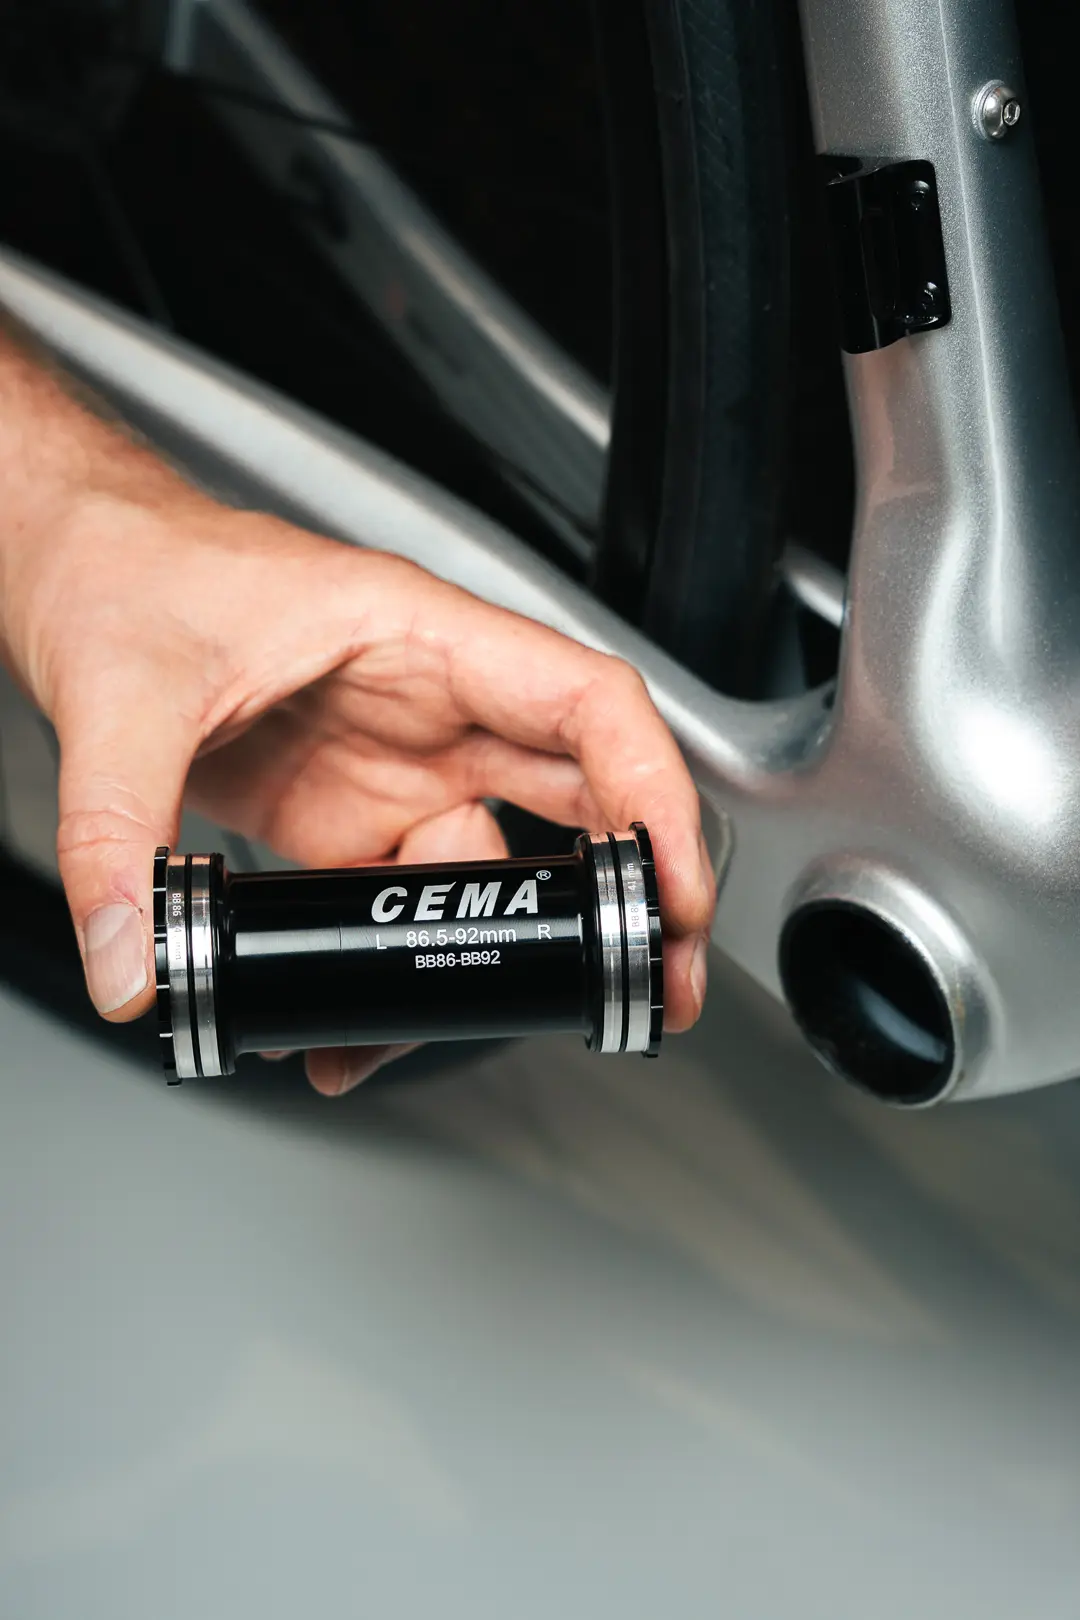
CEMA Interlock bottom brackets
Do you have a CEMA Interlock system in a press-fit frame? Then you benefit from:
- Internal screw connection = better alignment of the bearings
- Less chance of cracking
- Replaceable bearings
- Double O-ring buffer against water infiltration into the frame
Maintenance tip: For intensive service: unscrew cups, clean, apply new paste + inspect O-rings, check or replace bearings.
Conclusion: small effort, big gains
A bottom bracket does not last forever, but with regular maintenance, you can significantly extend its lifespan and continue to enjoy a quiet, efficient drivetrain. Plan your maintenance according to use (3 months for MTB/gravel, 6 months for road bikes) and choose a light or intensive service depending on time and condition.